How to Prepare Your Lawn for Spring with A-Z Rentals
April 15, 2025
Spring is the most critical season for lawn care. After enduring the winter months, your lawn needs the right combination of care, nutrients, and equipment to thrive. Taking the proper steps early ensures your yard will be lush, green, and resilient throughout the year. However, timing and the right tools are essential.
Whether you're a homeowner tackling a DIY lawn project or a professional landscaper managing multiple properties, A-Z Rentals has the right equipment to help. From aerators to dethatchers and seed spreaders, we provide affordable, high-quality rental tools so you can get the job done efficiently.
Follow this step-by-step guide to prepare your lawn for spring and set the foundation for a beautiful, healthy yard.
Step 1: Assess Your Lawn After Winter
Before doing anything, evaluate your lawn’s condition after winter. Look for these key signs:
-
Dead patches of grass that may need reseeding
-
Compacted soil that prevents root growth
-
Weed growth or leftover thatch buildup
-
Pest damage (such as brown or thinning spots caused by grubs)
Identifying Your Grass Type
Knowing your grass type determines the best care strategy:
-
Cool-season grasses (Tall Fescue, Kentucky Bluegrass) thrive in North Carolina's inland and mountain regions and should be seeded in the fall.
-
Warm-season grasses (Bermuda, Zoysia, Centipede) are better suited for coastal and southern regions and should be seeded in spring.
Once you've assessed your lawn, it's time to get to work.
Step 2: Clear Debris & Rake Thoroughly
Winter leaves behind dead leaves, twigs, and thatch, which can smother your lawn and prevent new growth. Raking and clearing debris allows sunlight, air, and water to reach the soil.
How to Rake Effectively
-
Use a leaf rake or dethatching rake to remove surface debris.
-
For lots of thatch buildup, consider renting a power rake.
-
Rake gently to avoid damaging emerging grass shoots.
-
Removing debris also helps reveal any bare spots that may need overseeding later.
Step 3: Test & Balance Your Soil
Healthy lawns start with nutrient-rich soil. Testing your soil helps determine what fertilizers or amendments you need.
How to Test Your Soil
-
Use a soil test kit to check for pH levels and nutrient deficiencies.
-
Ideal pH range: 6.0 - 7.0 for most grass types.
-
If the soil is too acidic, apply lime; if it's too alkaline, add sulfur.
-
Choose the right NPK fertilizer based on your test results.
-
Balancing your soil ensures your grass has the nutrients it needs to grow strong and healthy.
Step 4: Dethatch & Aerate (If Needed)
When to Dethatch & Aerate
Dethatching removes built-up organic matter that can block water, air, and nutrients from reaching the soil. It is best done in early spring for warm-season grasses but should be done in fall for cool-season grasses to prevent weed growth.
Aerating helps relieve compacted soil, allowing oxygen, water, and nutrients to penetrate deeper into the root zone, leading to stronger, healthier grass. Aeration is recommended for compacted soil, high-traffic areas, or clay-heavy soil types.
How to Do It
-
Use a power rake or dethatcher if the thatch layer is thicker than ½ inch.
-
Rent a core aerator from A-Z Rentals if your lawn feels hard and compacted.
-
Avoid aerating when the soil is overly wet, as it can cause damage.
-
Water your lawn a day before aerating to make the process easier and more effective.
Step 5: Apply Pre-Emergent Weed Control (Timing is Key)
Spring is the most crucial time to prevent weeds like crabgrass, dandelions, and clover from taking over your lawn. Pre-emergent herbicides create a protective barrier that stops weed seeds from germinating.
When to Apply Pre-Emergent
-
Apply before soil temperatures reach 55°F, which is when crabgrass and other weeds begin to sprout.
-
Use a soil thermometer to check temperatures or refer to local weather data.
-
Timing is critical—delaying by a few weeks can allow weeds to be established, making them harder to eliminate.
How to Apply
-
Use a broadcast spreader to evenly distribute granular pre-emergent.
-
Water lightly after application to activate the herbicide.
-
Avoid disturbing the soil after application, as this can break the barrier.
Things to Note:
Pre-emergent will also prevent grass seed from growing. If you need to overseed, choose between weed prevention or grass seeding. If overseeding is necessary, consider using a post-emergent herbicide later in the season to control weeds.
Step 6: Overseeding for a Thicker Lawn
If your lawn has thin or bare spots, overseeding can help create a denser, healthier turf. However, overseeding should only be done if you did NOT apply a pre-emergent herbicide, as pre-emergents prevent grass seeds from germinating.
When to Overseed
Cool-season grasses (Tall Fescue, Kentucky Bluegrass): Best seeded in fall, but spring seeding can work if managed properly.
Warm-season grasses (Bermuda, Zoysia, Centipede): Spring is ideal, as these grasses thrive in warm weather.
How to Overseed Properly
-
Choose the Right Seed – Select a grass variety suited to your region and lawn conditions.
-
Prepare the Lawn – Lightly rake or aerate the soil to improve seed-to-soil contact.
-
Spread the Seed Evenly – Use a broadcast spreader or drop spreader for uniform coverage.
-
Apply a Starter Fertilizer – This provides essential nutrients for new grass to establish quickly.
-
Keep the Soil Moist – Water lightly 2-3 times a day until the seeds germinate (typically 7-21 days).
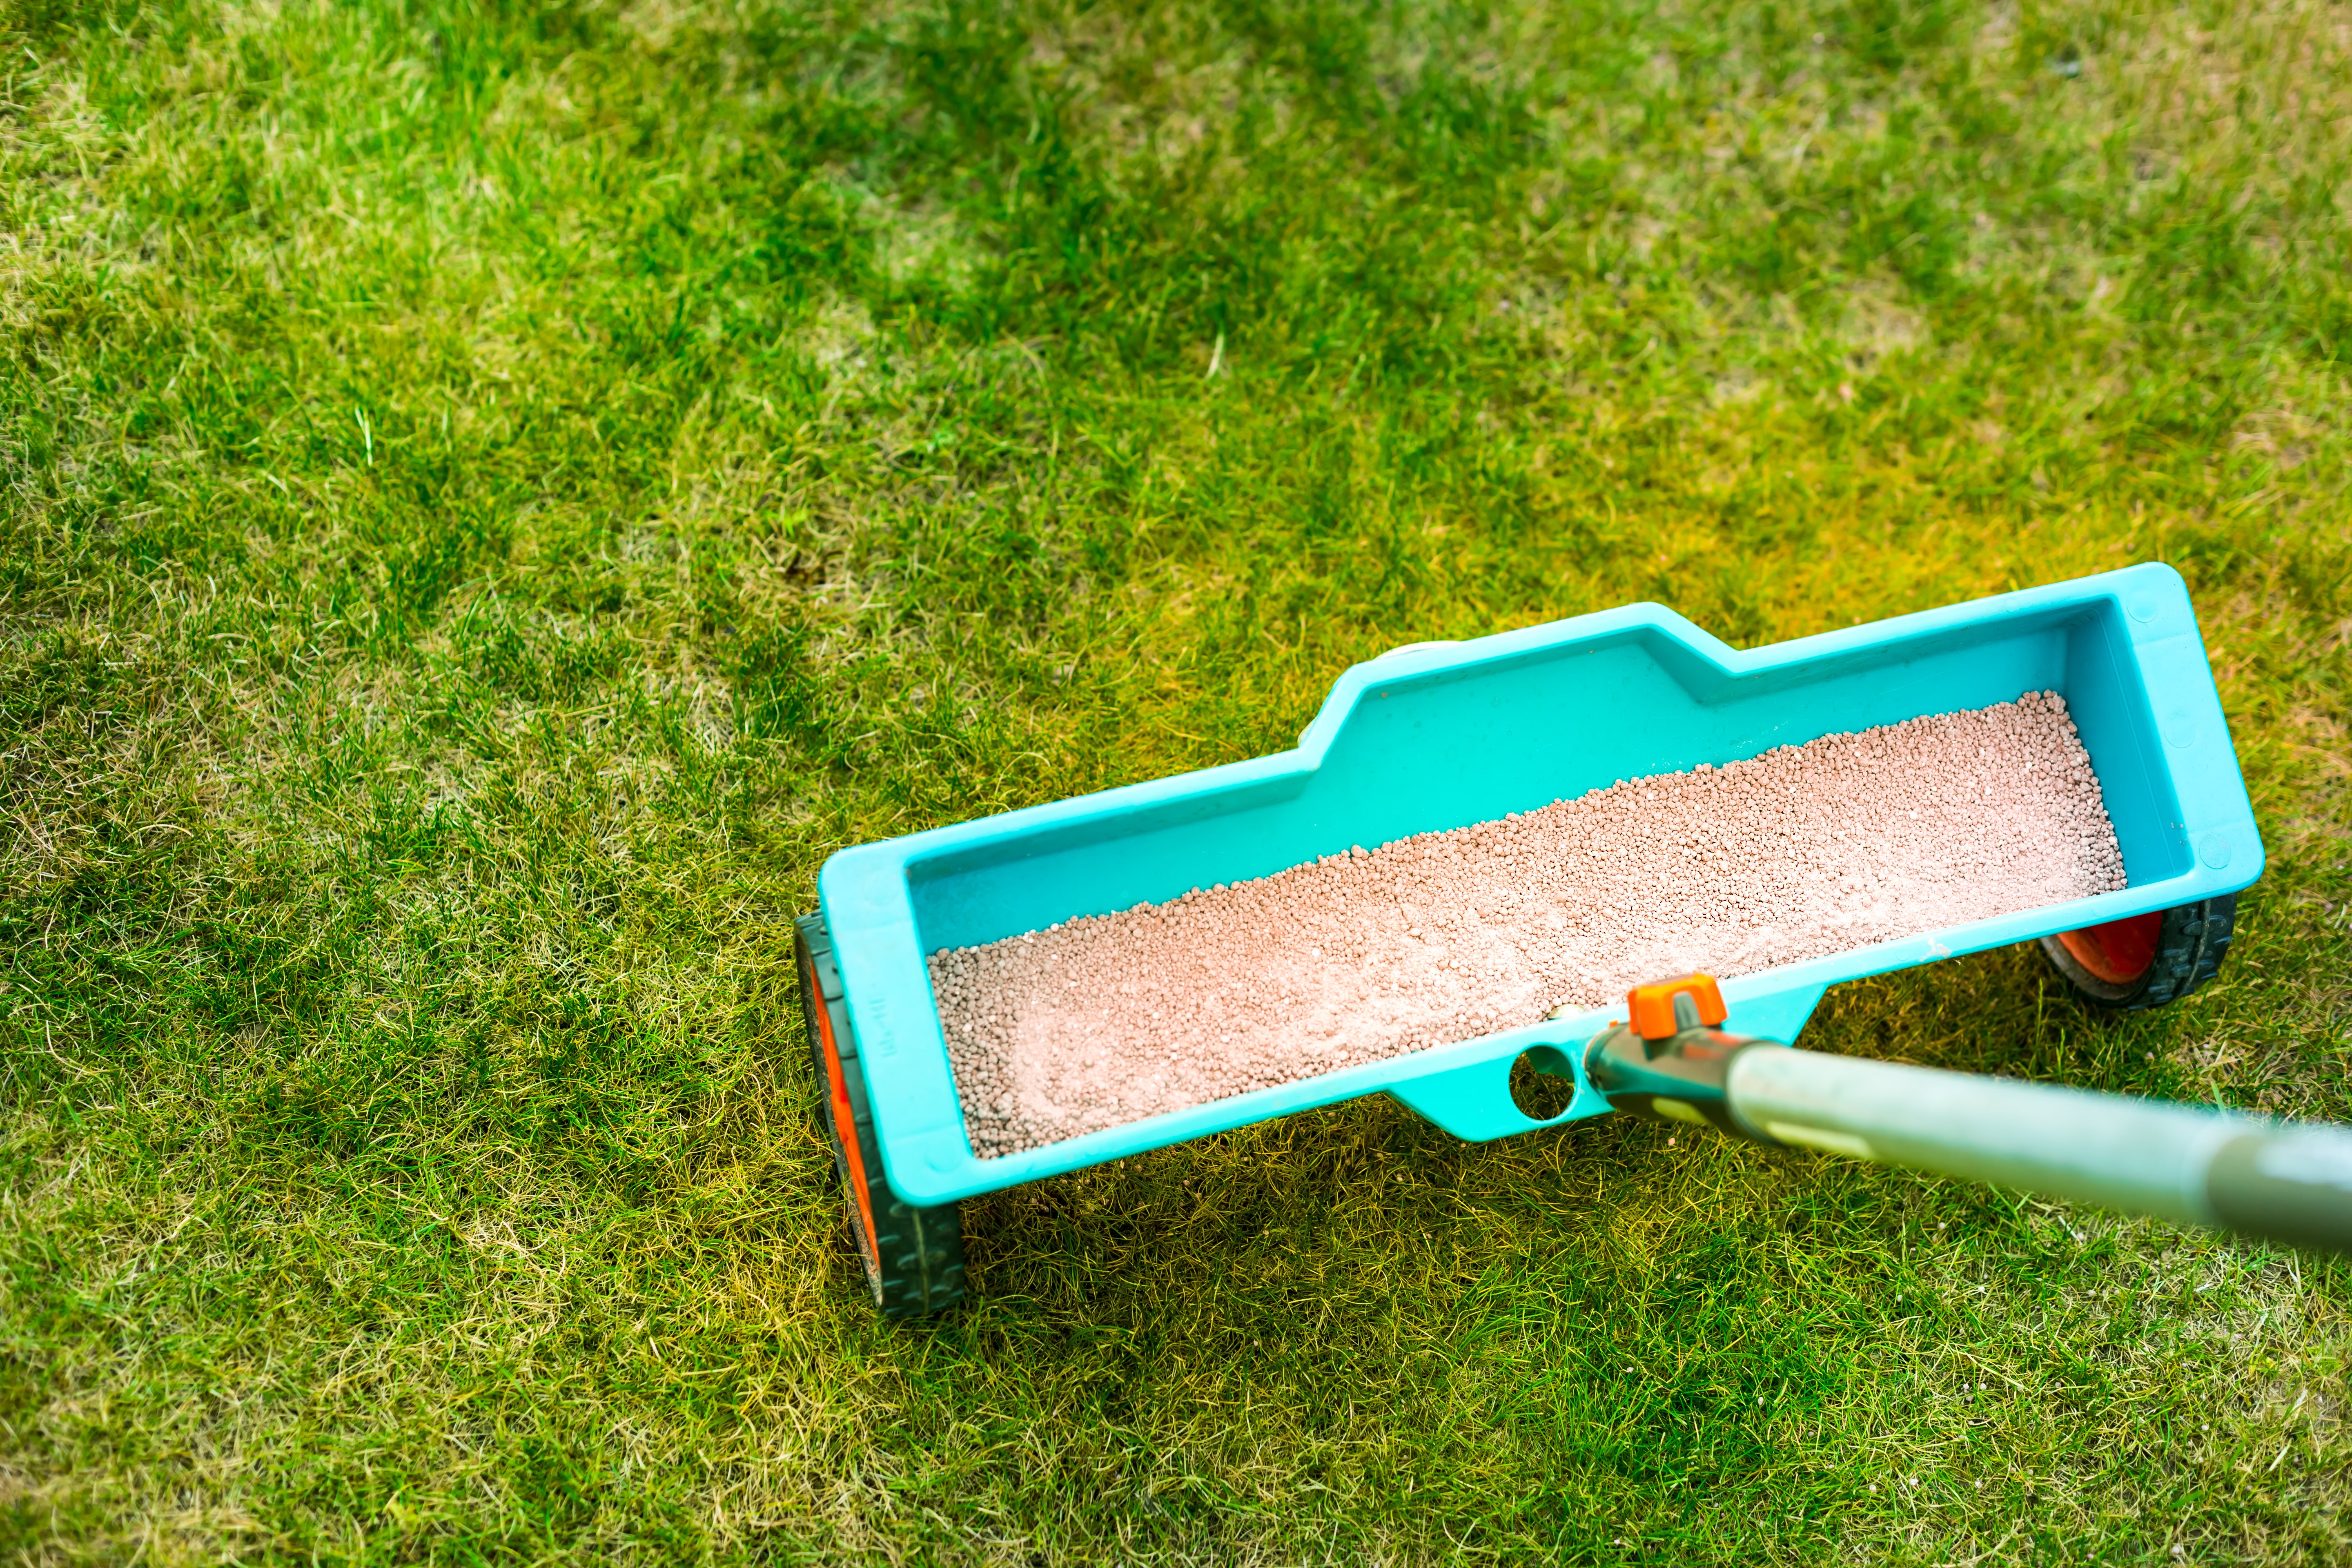
Step 7: Fertilization for Strong Growth
Fertilizing in early spring jumpstarts grass growth and provides essential nutrients to strengthen roots and green up the lawn.
Choosing the Right Fertilizer
If you overseeded → Use a starter fertilizer (high in phosphorus) to promote root development.
If you did NOT overseed → Use a slow-release nitrogen fertilizer to encourage steady, healthy growth.
For weed prevention → Some fertilizers include pre-emergent herbicides, but avoid these if you are overseeding.
How to Fertilize Properly
-
Check the Weather – Apply fertilizer when no heavy rain is expected for 24-48 hours to avoid runoff.
-
Use a Spreader – A broadcast or drop spreader ensures even application.
-
Water Lightly – This helps nutrients soak into the soil without washing them away.
-
Follow-Up Fertilization – Apply another round of fertilizer 6-8 weeks later for continued lawn health.
Step 8: Mowing for a Healthy Lawn
Mowing may seem simple, but cutting your grass at the right height and frequency is essential for a strong, green lawn.
When to Start Mowing in Spring
-
Wait until the grass is at least 3-4 inches tall before the first mow.
-
Cool-season grasses should be kept higher (3-4 inches).
-
Warm-season grasses can be cut lower (1-2 inches).
-
-
Avoid mowing too early, as new grass shoots need time to develop strong roots.
How to Mow Properly
-
Sharpen Your Mower Blades – Dull blades tear grass instead of cutting cleanly, leading to disease.
-
Follow the One-Third Rule – Never remove more than ⅓ of the grass height at a time to prevent stress.
-
Mow When the Grass is Dry – Wet grass can clog the mower and lead to uneven cuts.
-
Leave the Clippings (Sometimes) – Grass clippings can act as natural fertilizer, returning nutrients to the soil.
Step 9: Watering Strategies for a Greener Lawn
Watering correctly is one of the most important aspects of lawn care. Overwatering or underwatering can lead to weak roots and disease.
How Much Water Does Your Lawn Need?
Most lawns require 1 inch of water per week, including rainfall.
You can test how much water you're getting with a rain gauge or an empty can. Once the container fills with 1 inch of water you know you’re good.
When is the Best Time to Water?
The best time to water your lawn is early mornings (around 5-9am) as there is less evaporation and a better chance for absorption.
Avoid watering your lawn in the evening as wet grass overnight can cause fungal diseases.
Step 10: Pest Control & Long-Term Lawn Maintenance
Even with the best care, lawns can fall victim to pests and seasonal stressors. Regular monitoring and proper maintenance can help keep your lawn healthy year-round.
Identifying & Controlling Common Lawn Pests
Grubs – If you see brown patches that lift like carpet, grubs may be eating the roots. Apply a grub preventer in early summer if needed.
Armyworms & Sod Webworms – These insects chew grass blades and cause thinning. Use an appropriate insecticide if the damage is severe.
Moles & Voles – Raised tunnels and holes may indicate moles hunting for grubs. Controlling grubs can reduce mole activity.
How to Maintain a Healthy Lawn All Year
-
Monitor for Weeds – Spot-treat any weeds that pop up using post-emergent herbicides.
-
Apply a Mid-Summer Fertilizer – Helps sustain lawn health through the heat.
-
Adjust Watering Based on Season – Increase watering in summer, reduce in fall.
-
Prepare for Fall – Plan for aeration and overseeding in autumn to maintain a thick, healthy lawn.
Taking the right steps at the right time is the key to achieving a beautiful, green lawn in the spring and beyond.
By following this step-by-step guide, you’ll improve your lawn’s health, reduce weeds, and ensure strong, deep-rooted growth.
Need the right tools for the job? If you are in the coastal North and South Carolina area, A-Z Rentals has you covered! We offer aerators, dethatchers, spreaders, mowers, and more to help you get the professional results your lawn needs.